Can I bulk add or upload contact data?
Can I bulk add or upload contact data?
- No, the intent of this feature is for users to be able to add contact information for a customer or prospect as needed and quickly find it on the map or in a report.
Where can I expect to see the contact on the map?
Where can I expect to see the contact on the map?
- Once you have created a contact, the contact marker flag will appear on the map at the address entered. This means if you click on a parcel in Dekalb, Illinois and the owner address is located in Cedar Rapids Iowa, the contact marker flag will appear at the address in Iowa.
Can I run a report for the contacts I have created or see them all on the map?
Can I run a report for the contacts I have created or see them all on the map?
- Yes - review the Contacts Pro Report and Using the Contacts Map Layer for more details
What if my organization has a CRM integrated?
What if my organization has a CRM integrated?
- CRM contact information will appear as read only in CamoAg. Any edits made to contact information must be done in your CRM.
- If you create a contact in CamoAg and later add that information to your CRM, the data from your CRM will override the information in CamoAg and become read-only
Creating a Contact from the Map
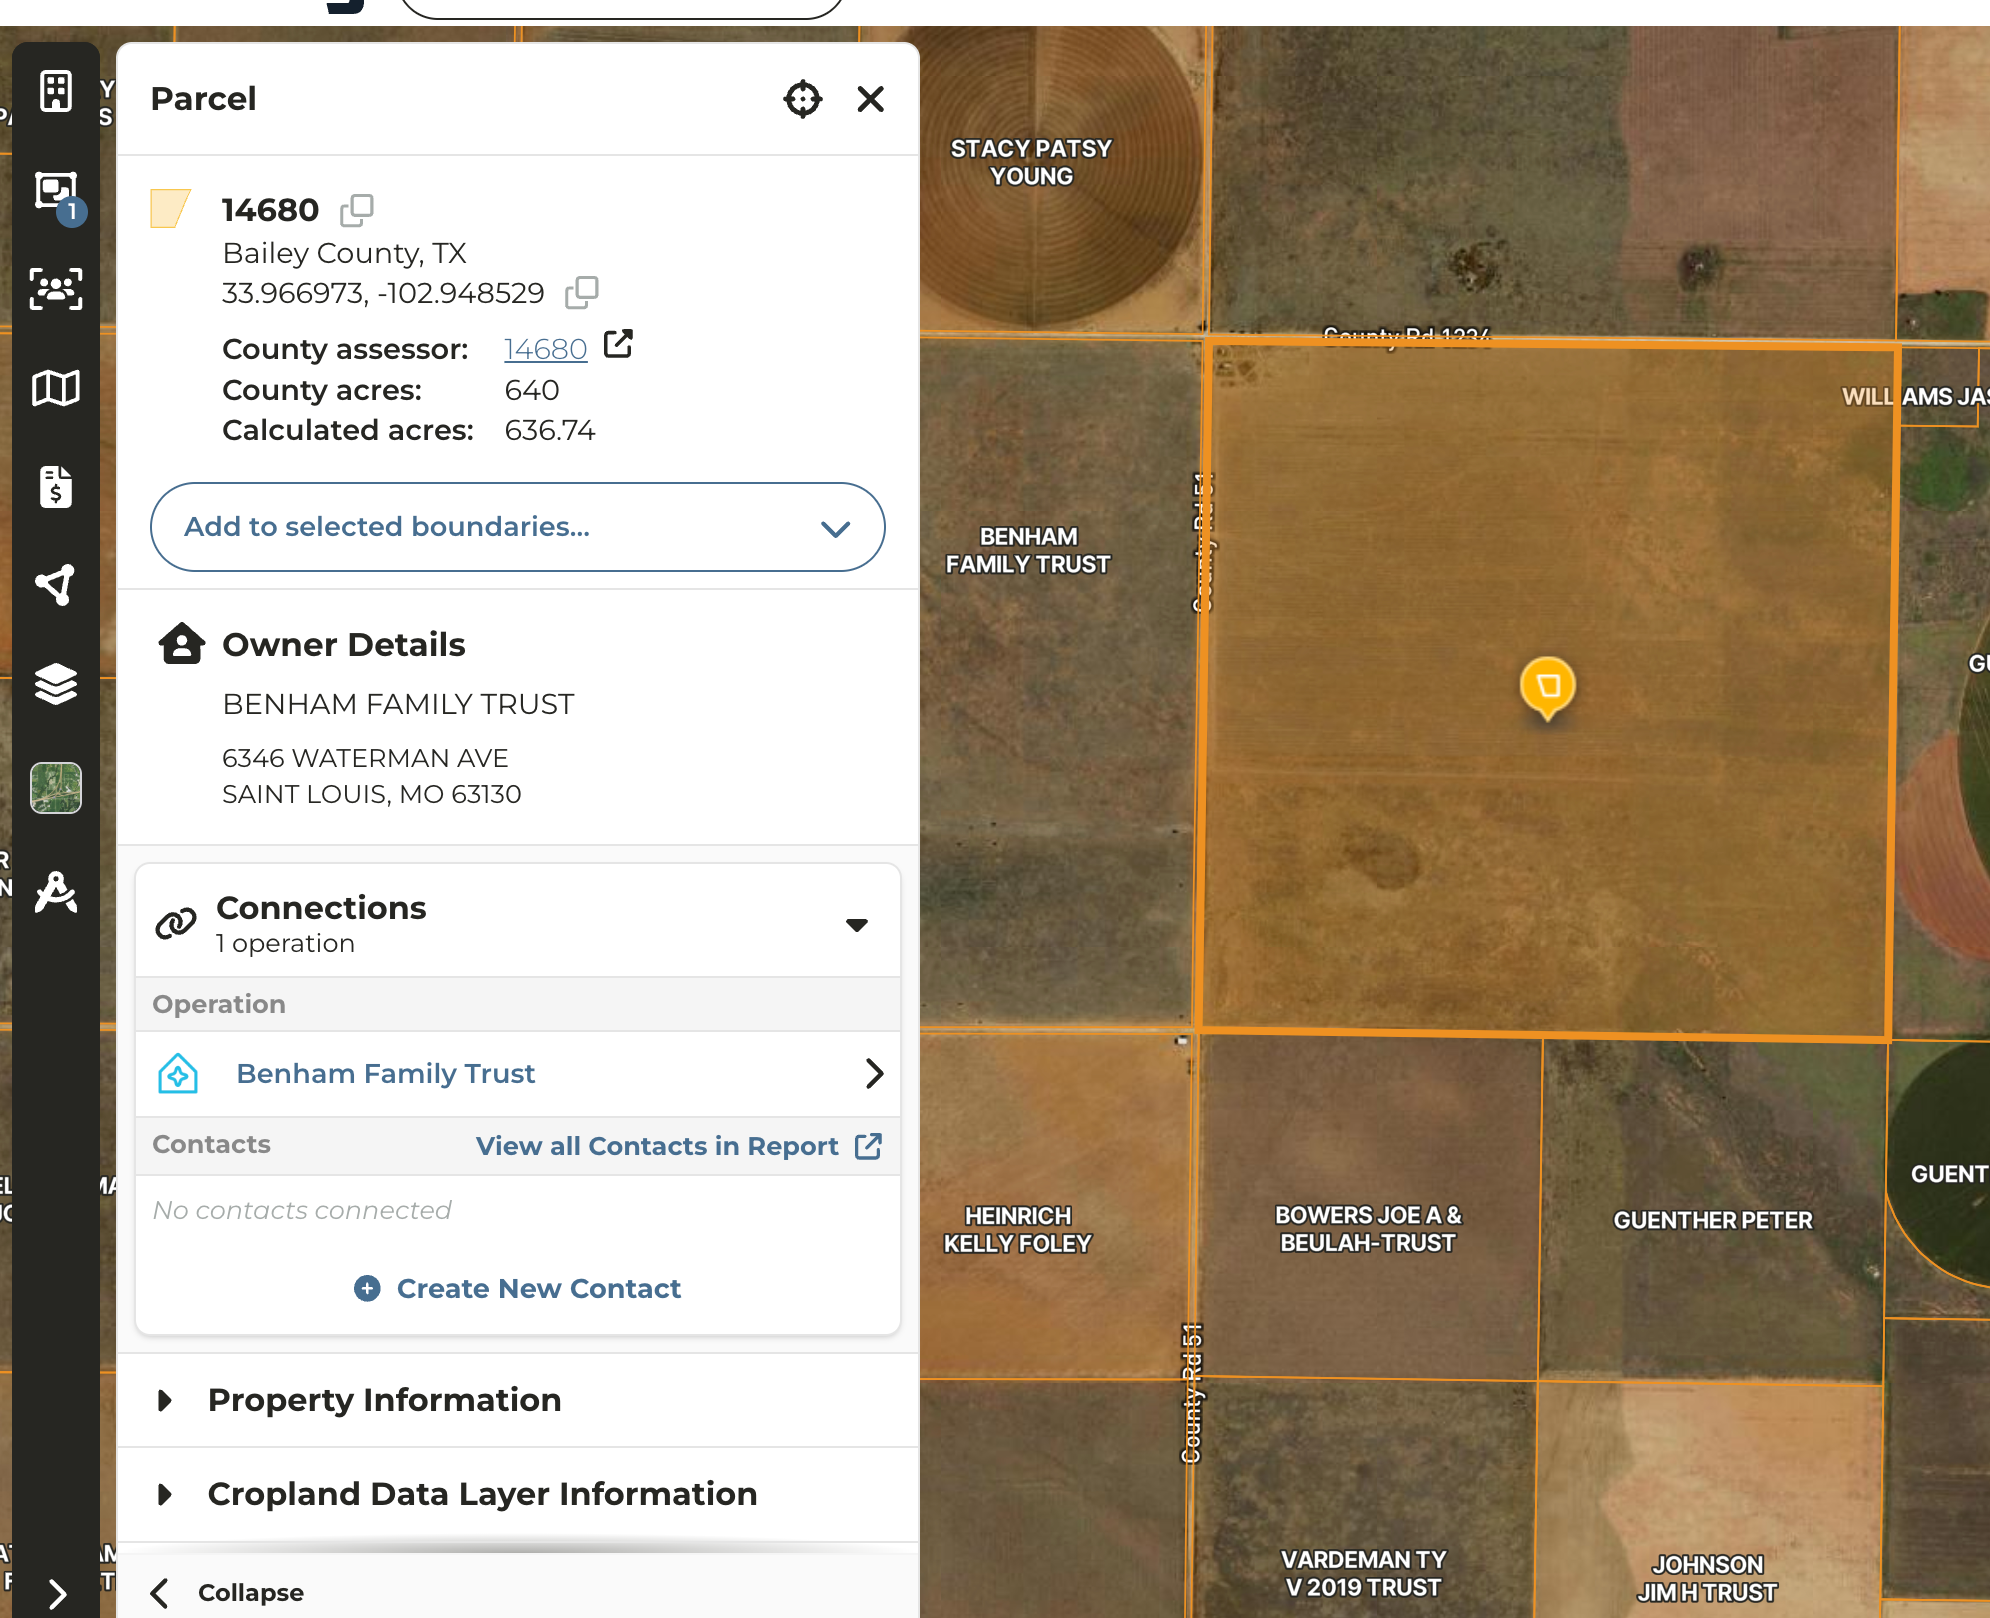
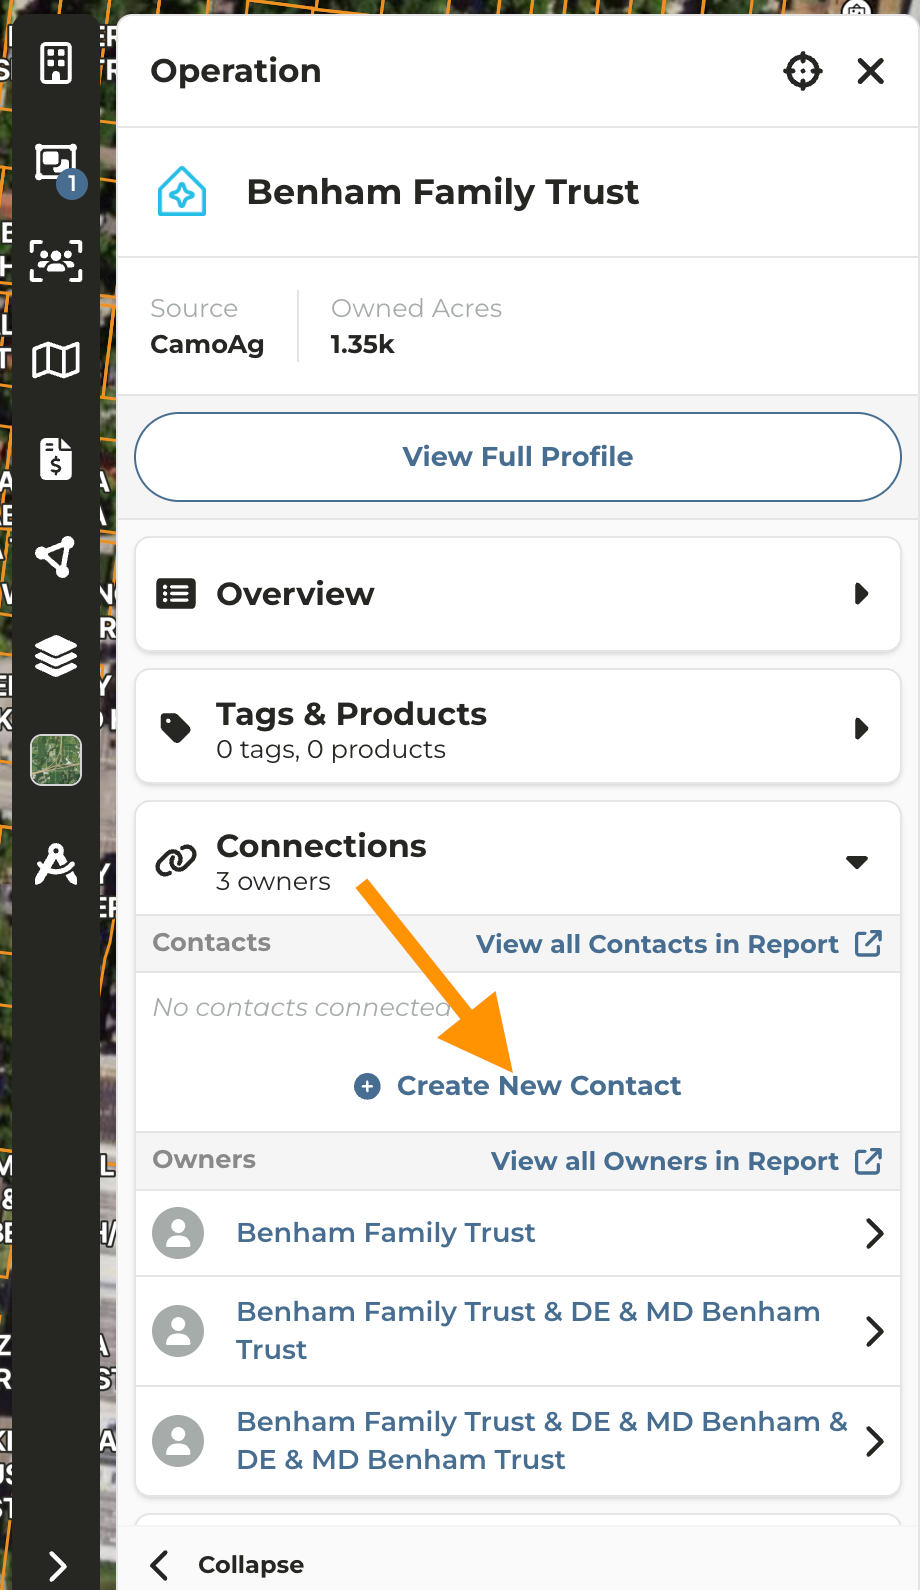
When creating a contact from the map address information it is not editable. If you want to create a contact with an address different from what you see steps below:Locate the person you want to add as a contact using search and clicking through to the map or by zooming in on the map and clicking on a parcel
By default the Address and Contact Name are filled in for you, but can be edited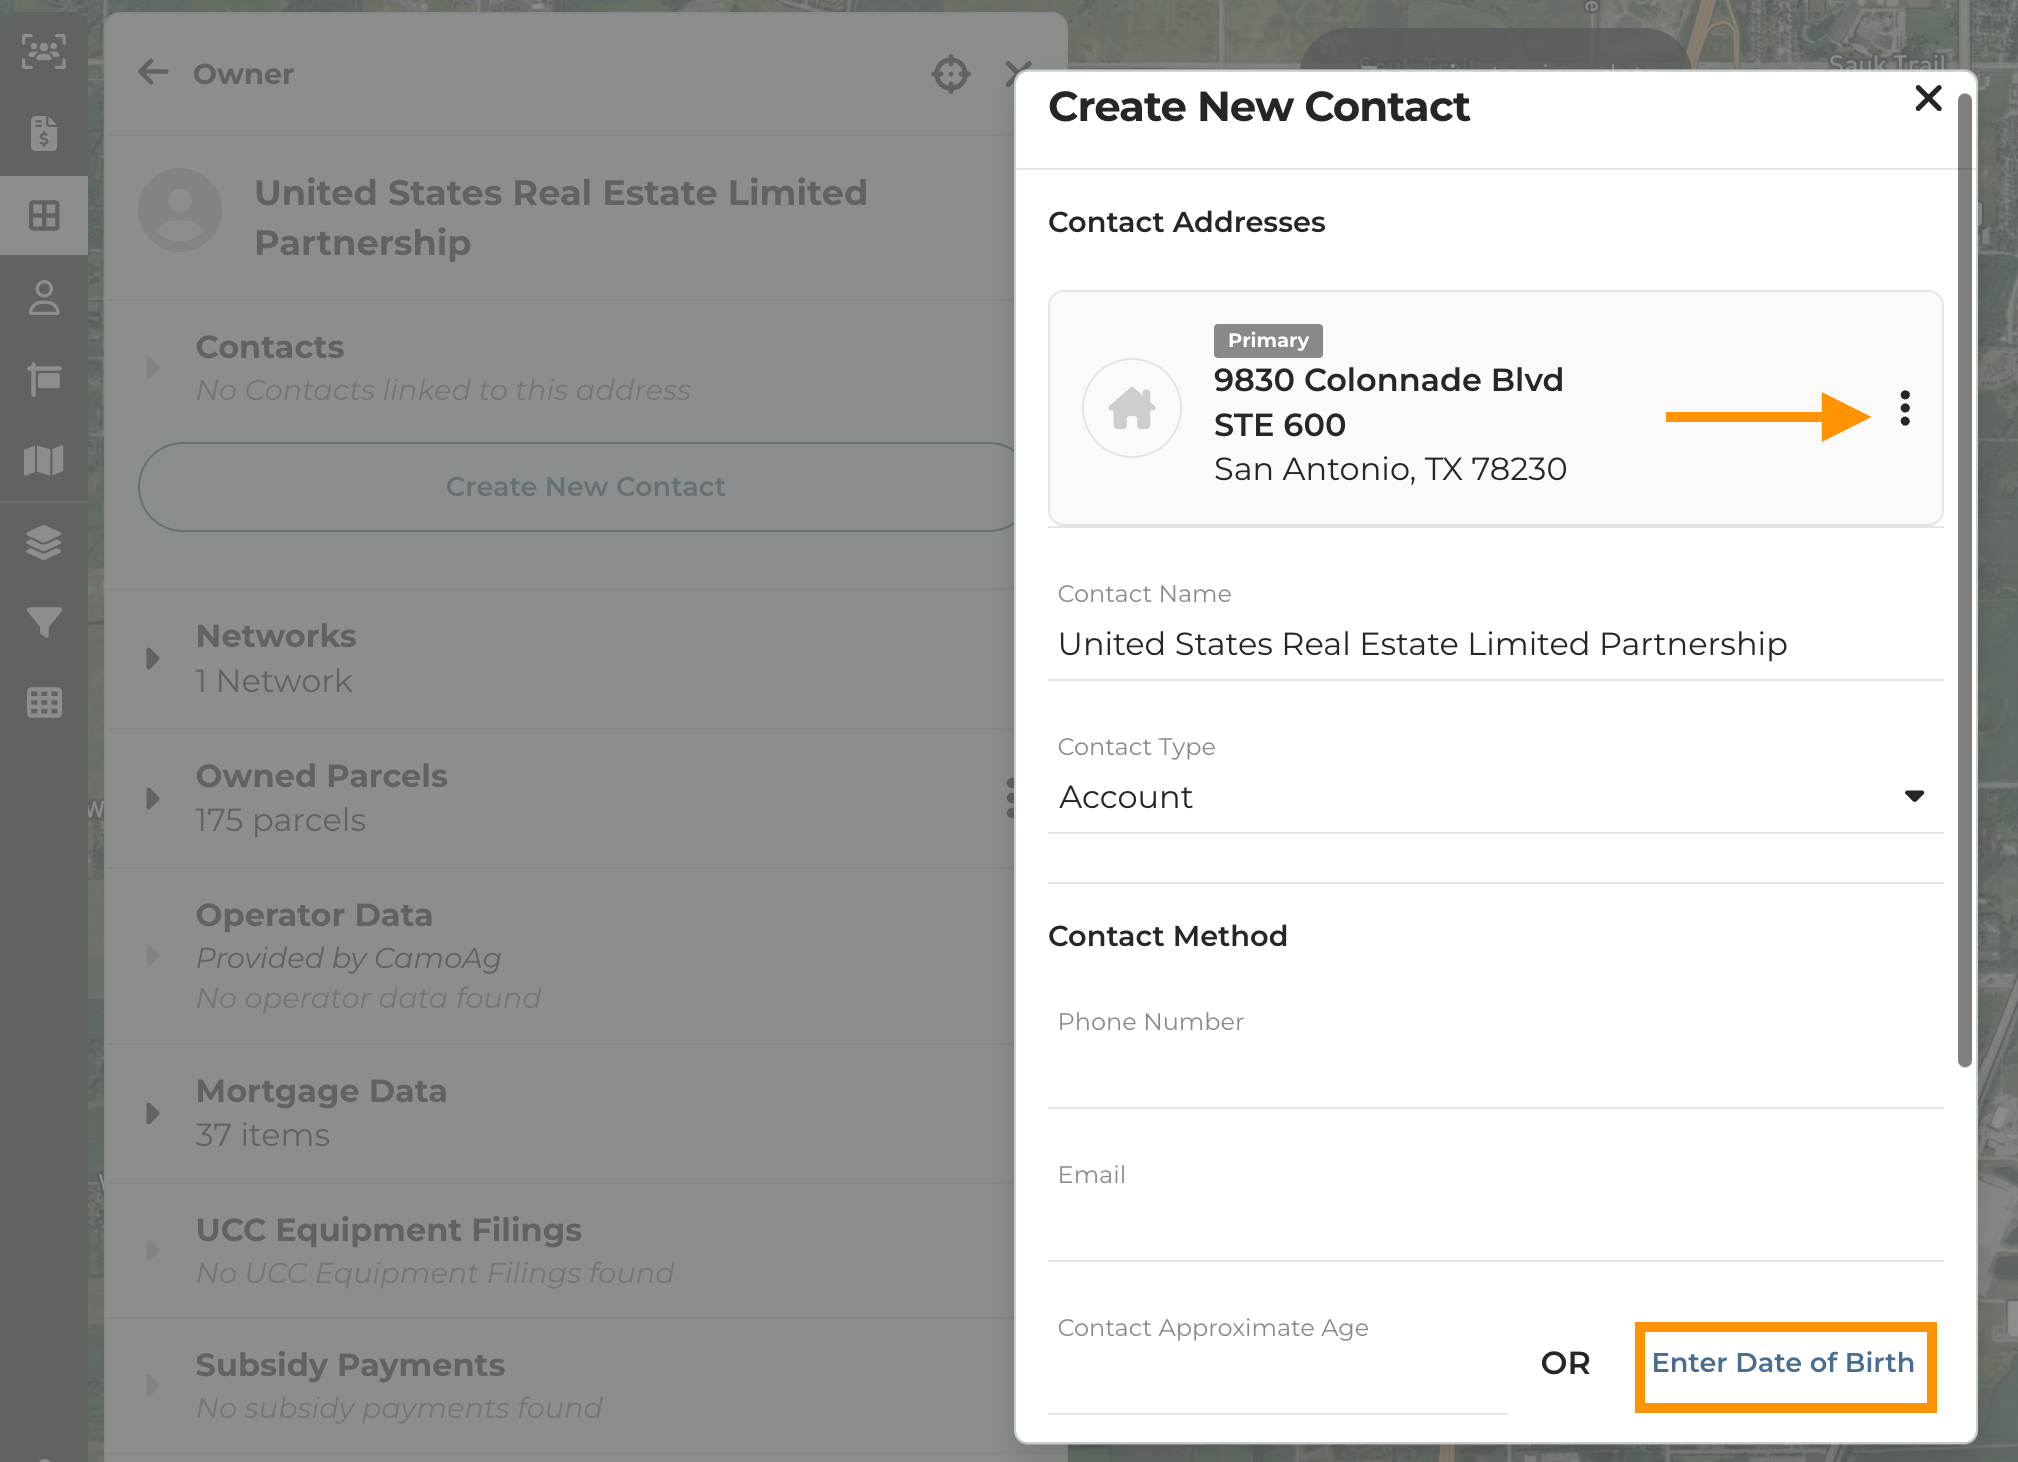
- To change the Address Type from Primary to either Billing or Shipping, click the three vertical dots and update the address type in the dropdown before clicking Save Address Type
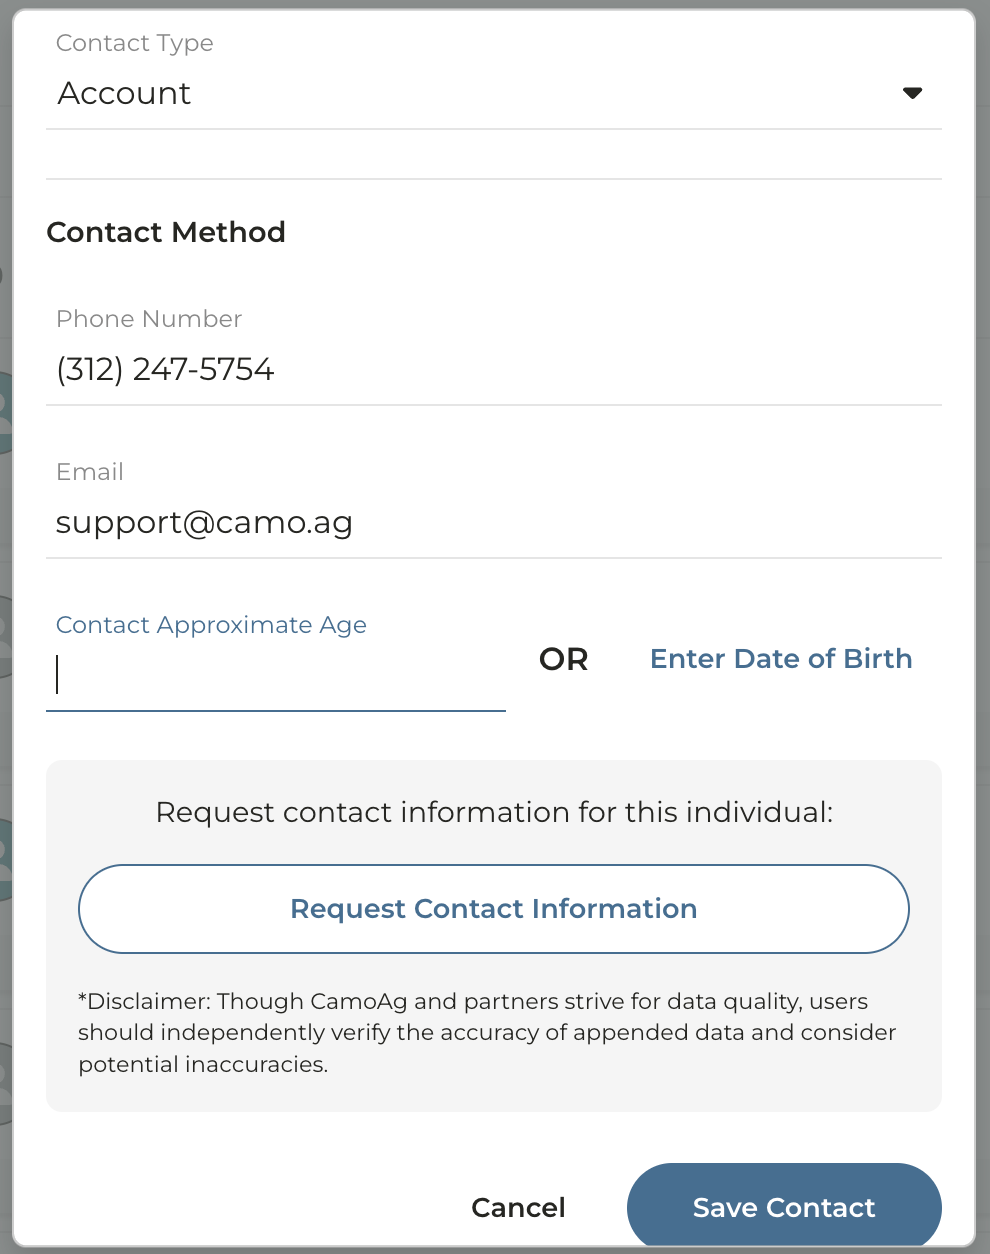
- Contact Name: Can be edited or left as is
- Contact Type dropdown options: Account, Contact, Lead, or Prospect
- Contact Method: Enter any or all of the following - Phone Number, Email, DOB or Approx Age
Creating a Contact on the Contact Dashboard
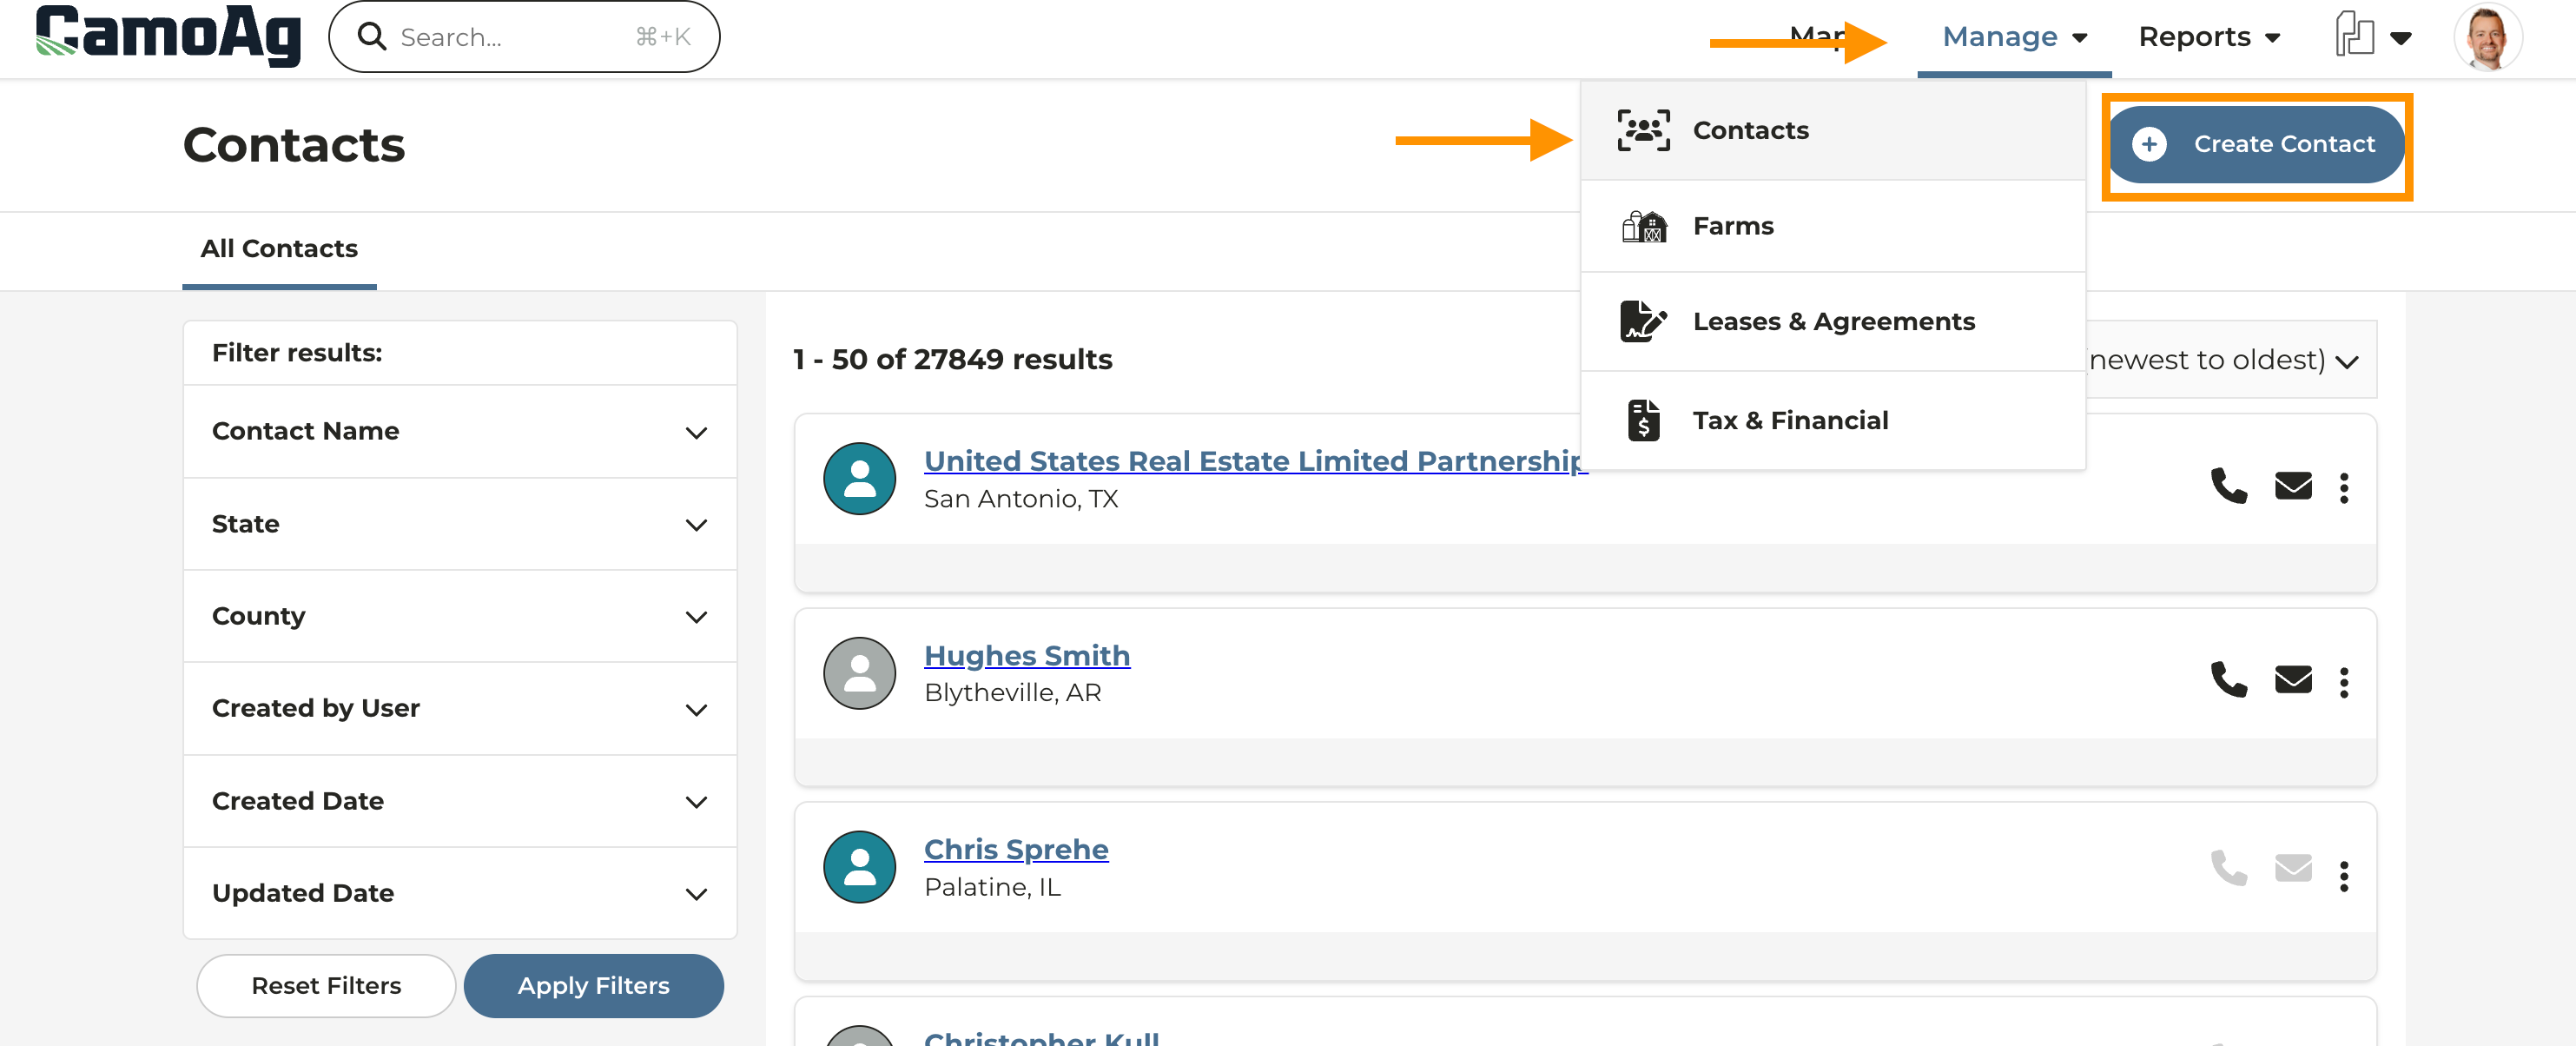
Click +Add Address and either search for the address and pick from the suggested addresses or manually enter the address and click Save Address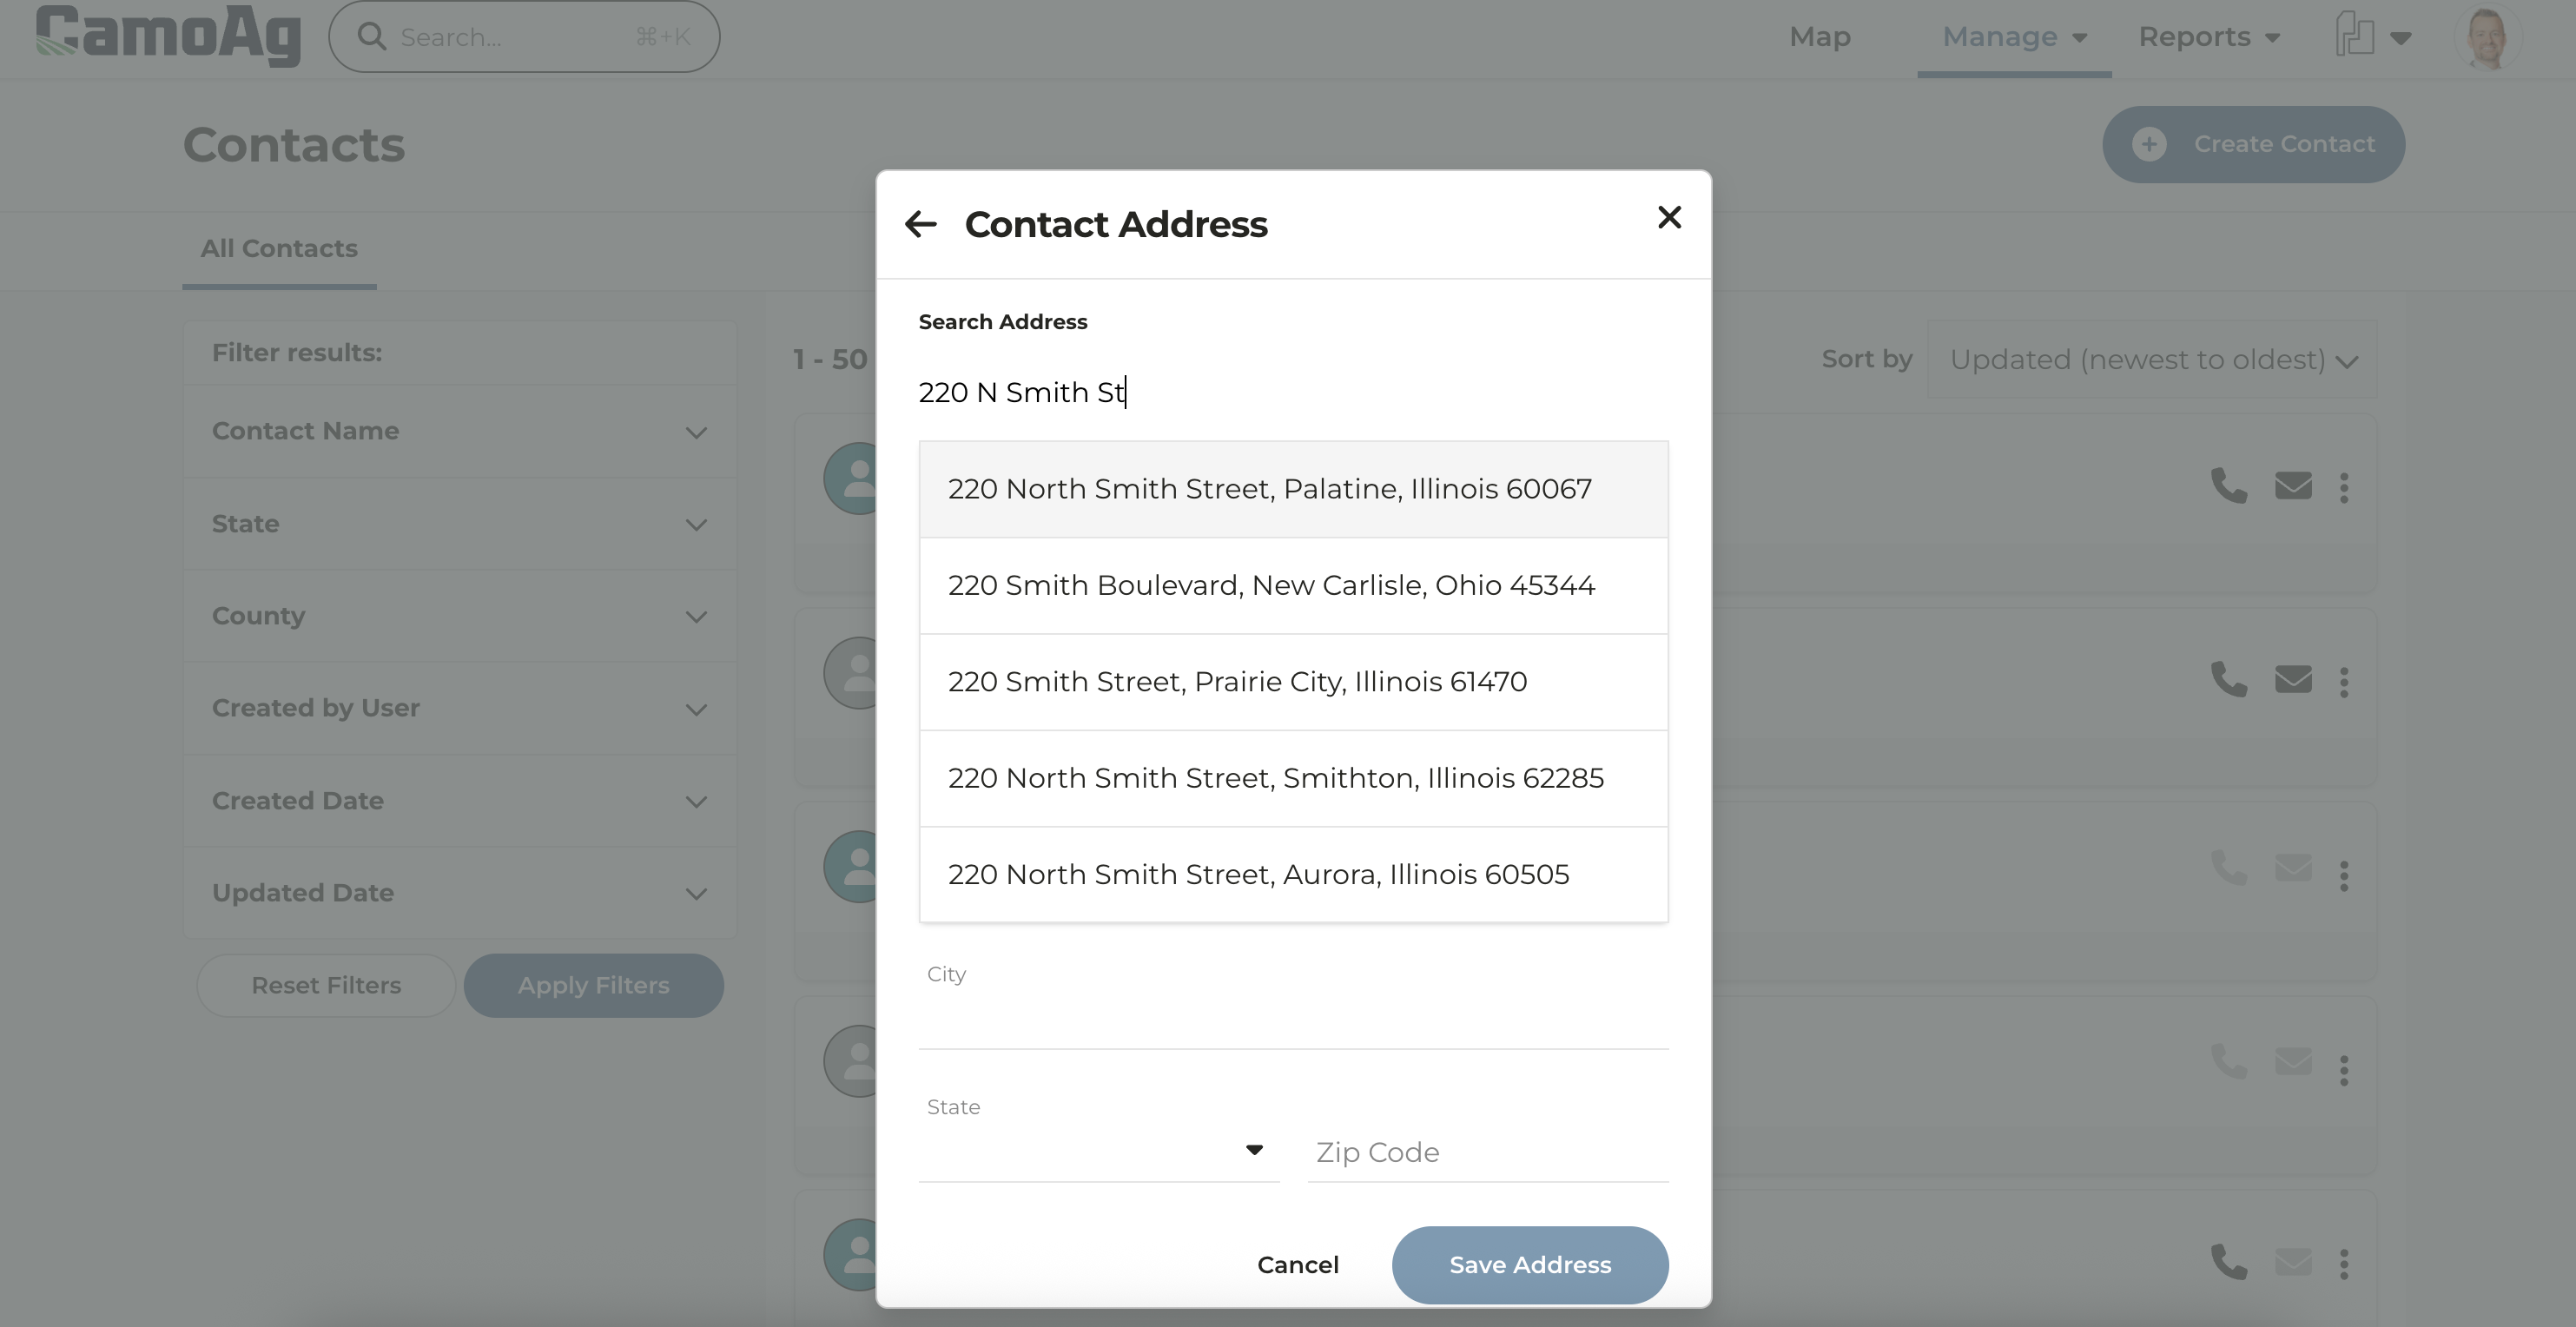
Enter remaining contact details
- Contact Name - required
- Contact Type - optional drop down
- Phone and Email - optional
- Age or DOB - optional